At Taylored Expressions, we love to learn new techniques, polish up on old favorites, and be inspired by the creativity of designers from around the crafting world. Today we have a tutorial from designer Wanda Guess, who shares how to create cheerful, easy-breezy gift boxes! Check out her step-by-step tutorial on how she created these delightful gift-giving packages: (To help get you started with your own gift boxes, the Gift Box Punch Board Wanda used is on sale in the TE Store for 20% off!)
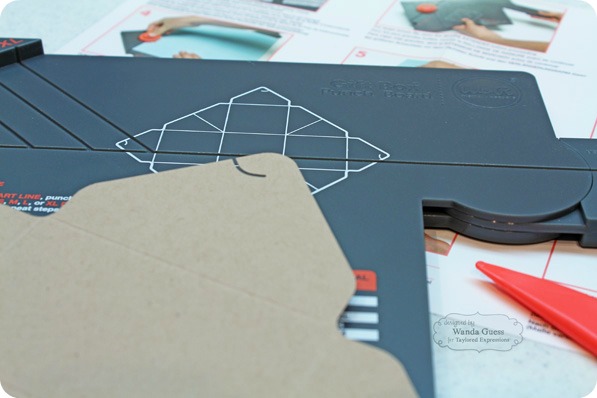
Note: Wanda recommends referring to the included easy-to-follow manufacturer directions for the Gift Box Punch Board. She also suggests creating a practice box from scrap paper to get a feel for how it all comes together. The box itself requires no adhesive.

Step 1: Gather all your tools and materials.
Finished boxes may be embellished in many different ways.
(Wanda's project features the Gift Box Punch Board from We-R-Memory, along with Taylored Dies such as Mix & Match Bows and Band It, as well as our Many Minis - Occasions stamp set.)
Step 2: Trim base paper according to manufacturer directions.
Wanda created two sizes: 3.25 x 3.25 x 1.75 (start with an 8x8 piece of cardstock) and
2.5 x 2.5 x 1.75 (start with a 7x7 piece of cardstock).
Using the included bone folder, score firmly to achieve crisp folds.
  Step 3: Punch accordingly. Hooked corners will hold the box closed without the use of adhesives.  Step 4: Carefully fold along score lines. (Note: Wanda recommends placing your gift item inside the box before embellishing.)  Step 5: If embellishing, place gift item inside box before closing the finished box.

Step 6: Trim a strip of patterned paper to wrap around the box and adhere with glue.  Step 7: Die-cut pieces (x3) from Mix & Match Bows to create a loop bow.
 Step 8: Add a center embellishment and adhere.   Step 9-10: Create additional bows. (Try experimenting by layering pieces, mixing patterns, and have fun!) Stamp sentiments on die-cut Mini Tags.  Step 11: Assemble. (Wanda's tip: If you need the bottom piece of the bow longer -- as Wanda did to reach out over the box -- simply cut it in half and then glue the bow over the two halves.) 
We hope you are inspired to try creating your own beautiful, simple gift boxes to brighten up your gift giving!
When you have made your project, visit our Facebook Page and share with us!
|