|
|
|
|
|
|
|
At Taylored Expressions, we love to learn new techniques, polish up on old favorites, and be inspired by the creativity of designers from around the crafting world. Today we have a tutorial from designer Lea Lawson, who shares how to combine simple techniques and trends to create an artistic and modern project! Check out her step-by-step tutorial on how she created this wonderful non-traditional Easter card: (Lea's project features the stamp set, Little Bits of Spring and the die set, Hippity Hop.)
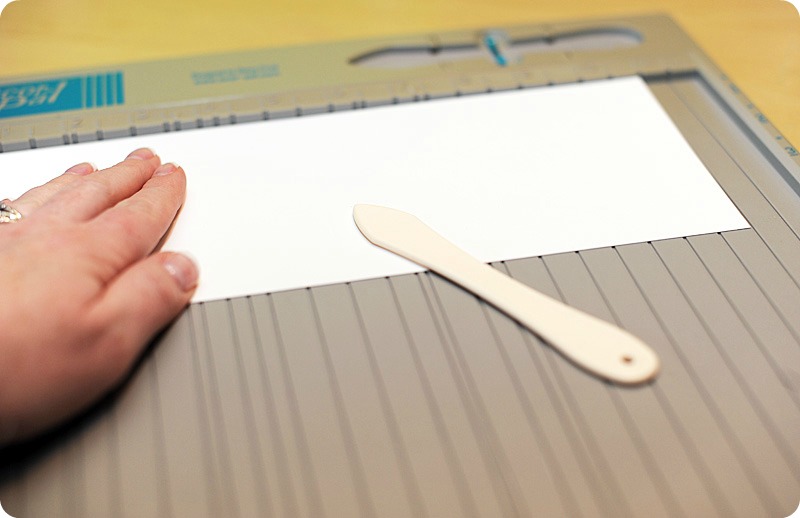 Step 1: Create your A2 card by trimming white cardstock to 4.25x11 inches, then scoring and folding in half. Set it aside for later.
Trend: Sponged Background Paper
If you don't have any patterned paper with a sponged ink pattern, create some with water-based ink and a sponge dauber or blending tool.
Step 2: Trim your background paper slightly smaller than the cardbase at 4 x 5.25 inches.
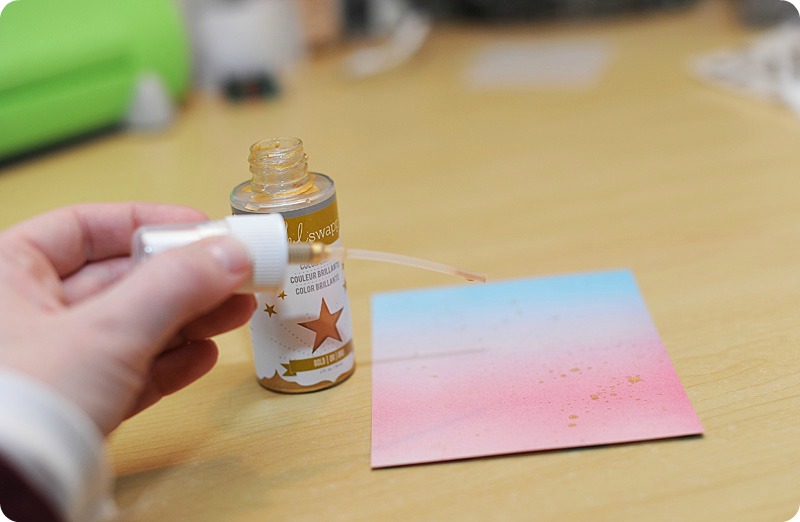 Trend & Technique: Metallic Ink/Mist
Misting ink can be tricky. An easy way to add just a bit of metallic shine is to open the bottle and 'flick' the spray dispenser tube.
Step 3: Flick gold mist on the background paper, then set aside to dry.
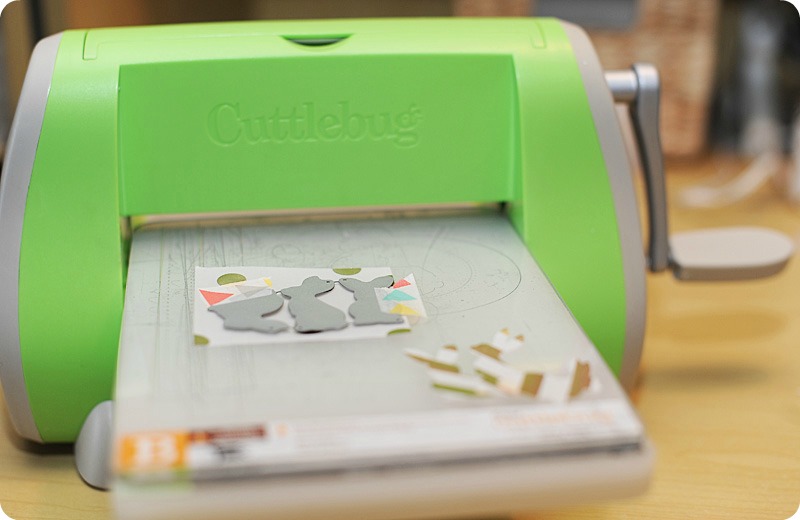 Trend: Die-cut Vellum
Metallic or foil-pressed vellum is a popular trend, but vellum on its own also adds an unusual element to a project.
Step 4: Die cut the bunnies from gold foil pressed vellum.
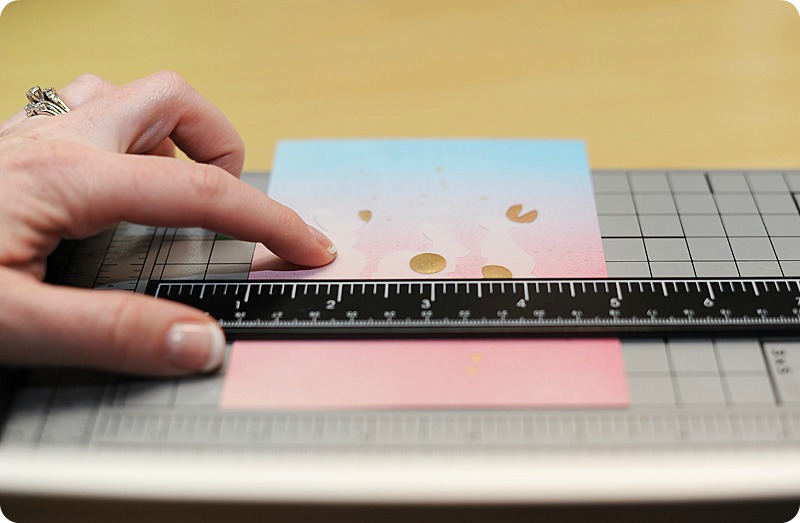 Step 5: Adhere the bunnies to the background paper, only adding adhesive to the bottoms of them. 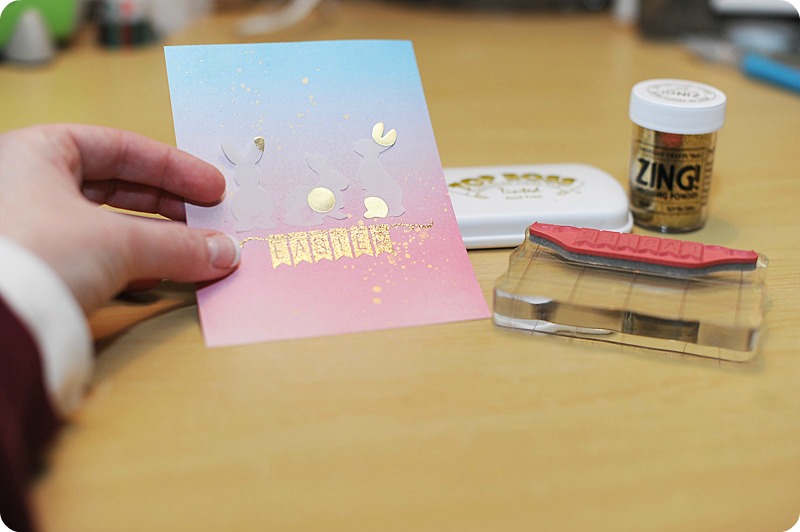 Trend & Technique: Heat Embossing with Metallic Embossing Powder Trend & Technique: Heat Embossing with Metallic Embossing Powder
Heat embossing has been around for a long time now, but never feels tired if done with metallic embossing powder for a gorgeous shine.
It's an easy and simple technique for even a novice stamper to master.
Step 6: Stamp and heat emboss the 'Easter' banner, then stamp the rest of the sentiment below it in black. 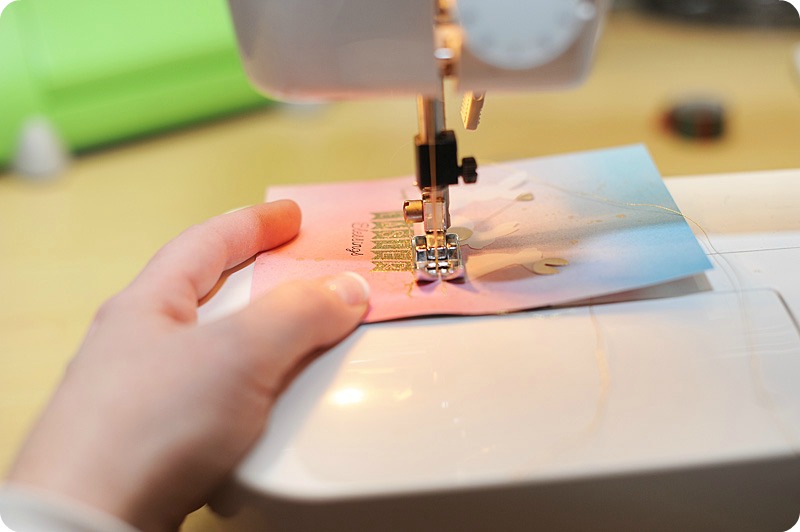 Technique Technique: Stitching
If you have a sewing machine, don't be afraid to pull it out and add some simple stitching to a project. To keep it on trend, use metallic thread!
Step 7: Stitch two straight lines in gold thread to the bottom of the bunnies.
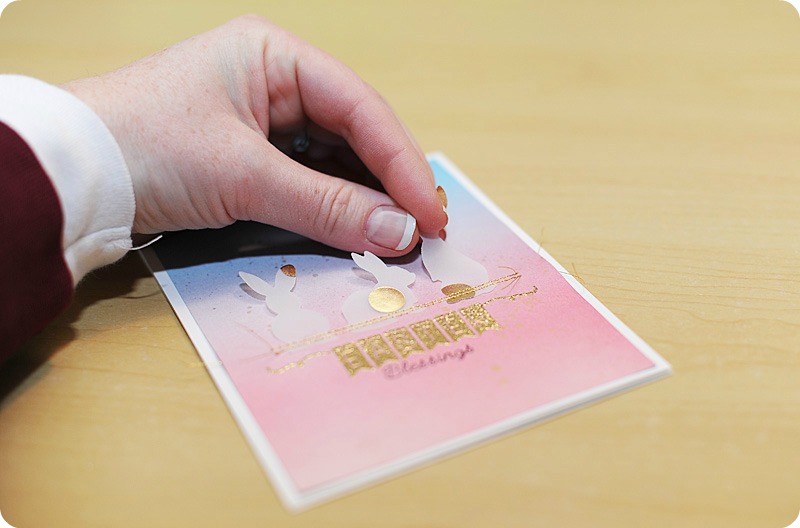 Step 8: Adhere the background paper to the card front, then give the bunnies a little bit of dimension.
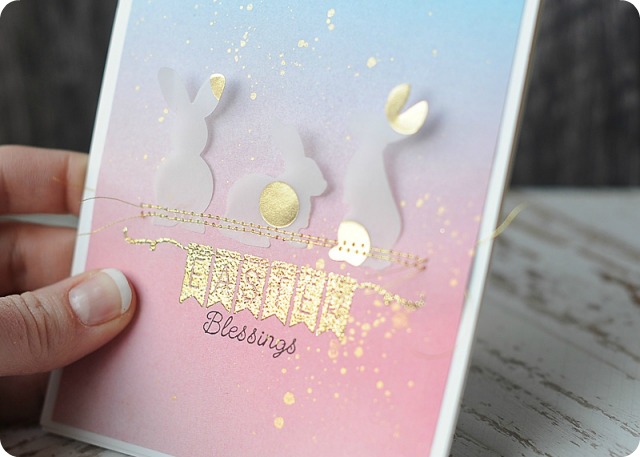 The finished card. 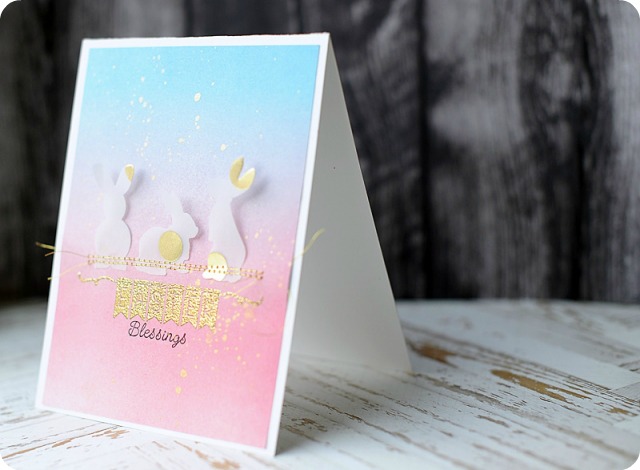
We hope you are inspired to try combining simple trends and techniques to create some unique and memorable projects!

|
|
Stay Connected
| |
     
Stay connected with TE between newsletters by clicking on any of the icons above!
New to Taylored Expressions? Find answers to Frequently Asked Questions as well as information about our stamps, dies, tools, paper and much more by clicking HERE.
Thanks for taking time to connect with TE today! If you ever have any questions or comments please do not hesitate to email us at support@tayloredexpressions.com.
|
|
|
|
|
|
|