|
| |
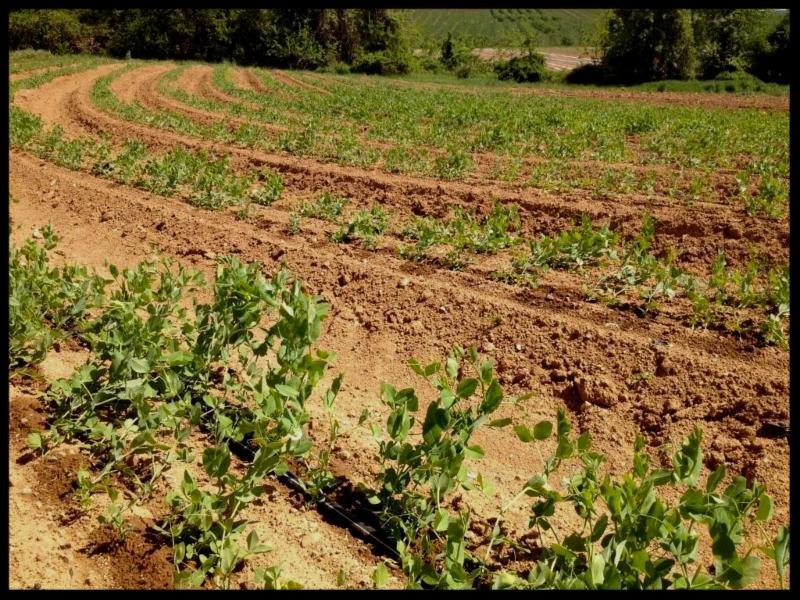
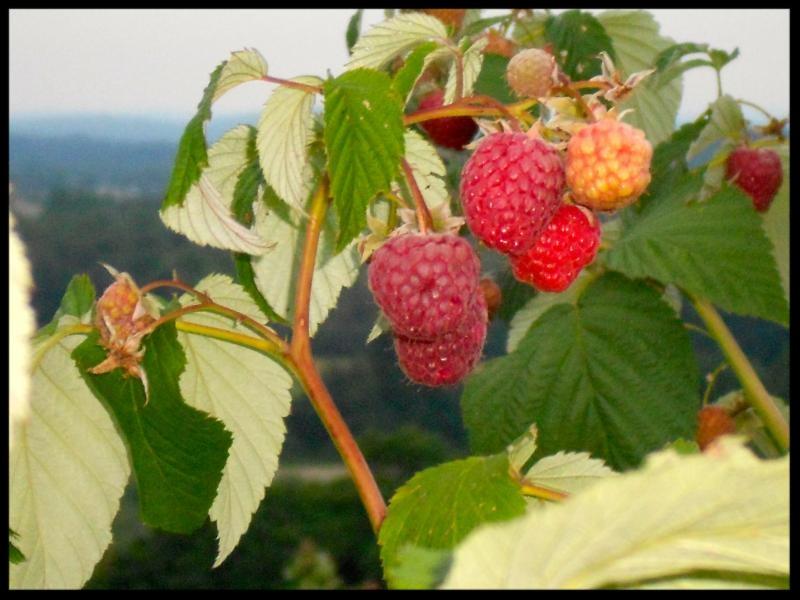
Our pea planting a couple of weeks ago
|
For what's at market this week see the bottom section.
For times and locations please
For a history of the farm and a write-up on our
The window for growing and harvesting both of the kinds of peas which Twin Springs raises is all too short. There is a reason why we associate peas with England, and it has to do with climate. As with field lettuce, spinach and various other crops, the Sugar Snap and English Peas we grow must be planted early, as in March, and they will start to bear right around now, early June.
Pea plants thrive in damp cool weather, interspersed with sunny, but not overly hot, days; you know, just like Spring in the English countryside.
The plants are pretty tough as far as freezes go, but stop flowering and putting on new peas as the days start to heat up and get longer. Fresh shelled peas are a wonderful thing and must really be enjoyed "in season", though freezing for later enjoyment is a great thing to do. They will be delicious if done properly and promptly, but never as good as shelled out the day they were bought at market and quickly cooked, or even eaten raw.
The Sugar Snaps are, of course, not grown to be shelled, though that can be done with the mature ones, but to be consumed pod and all, merely de-stemmed at the top. These are often added raw to salads, and as with shelled peas are great if only briefly cooked.
I just stir fry my own in a bit of browned butter; keep it simple! They don't need a lot of frou frou cooking and saucing; enjoy the sweetness and subtle flavor of something so fresh. This is how I invariably prepare both shelled peas and Sugar Snaps. Adding them to any sort of soup, stew, stir fry or curry dish is also very appropriate.
Preserving Peas
In studying up on directions for freezing peas, whether shelled ones or those consumed whole, I found a number of sites which indicated you could just skip blanching, freeze the rinsed raw peas on a cookie sheet for a few hours, and subsequently pour them into freezer bags to be placed in the freezer.
Other sites, like the one from which I adapted the below instructions, make it clear that there is great value nutritionally, as well as flavor-wise, storage life, and even safety, which make it advisable to not skip the step. It is pretty simple and brief, requiring only 90 seconds in boiling water.
I really, really, am a believer in using a vacuum sealing appliance for almost any freezing task. I use one for the hops I grow for brewing at home, but, of course, fruits and veggies, and even meats keep way better if handled this way. Remember to pre-freeze the filled bags before running a vacuum cycle.
If you don't use a vacuum device, at least use really good freezer bags, or some sort of well sealed storage container
Directions for Freezing peas
Ingredients and Equipment
- fresh peas - any quantity. I figure one handful per serving.
- Plenty of ice on hand - perhaps get a bag at your local grocery or convenience store for a large freezing project.
- Vacuum food sealer or "ziploc" type freezer bags (the freezer bag version is heavier than an ordinary storage bag, and protects better against freezer burn).
|
- 1 Large pot of boiling water
- 2 large bowls, one filled with cold water and ice.
- 1 sharp knife
|
Quality
You need peas that are FRESH and crisp. I'd suggest getting them from Twin Springs Fruit Farm, or grow your own! Plan on doing the task ASAP, like you would with sweet corn, both lose sugars fairly rapidly after harvest.
Quantities
About 14 pounds of peas makes 7 quarts of shucked peas; or 9 pounds is needed for 9 pints.
Wash the Peas
Whether whole pod Sugar Snap Peas or shelled out English Peas it is always best to give them a good rinse. Even though Twin Springs gets everything like berries, peas and spinach picked with blue nitrile gloves on, we recommend this step, if just for peace of mind.
Hull the Peas
I find it easiest to just grab the stem end, and press my thumbnail into the seam, squeezing the pod gently. It usually opens right up, and I can use a finger to push the peas out. A knife may be used to help get things started if you can't get the hang of shelling.
Obviously, this step is unnecessary for edible-podded peas like snap peas. Just snap off the tips and pull the "strings" off. Don't fret if you don't find any strings, modern varieties are fairly stringless.
Get the pots ready
Get the pot of boiling water ready, bigger is better than smaller, as you want the water to return to a boil as rapidly as possible after pouring in the raw peas, and a LARGE bowl with ice and cold water.
Step 5 - Blanch the peas.
All fruits and vegetables contain enzymes and bacteria that, over time, break down and destroy nutrients and change the color, flavor, and texture of food during frozen storage.
Peas requires a brief heat treatment, called blanching, in boiling water or steam, to destroy the enzymes before freezing. Blanching times for peas is 90 seconds - the duration is just long enough to stop the action of the enzymes and kill the bacteria.
Begin counting the blanching time as soon as you place the peas in the boiling water. Cover the kettle and boil at a high temperature for the required length of time. You may use the same blanching water several times (up to 5). Be sure to add more hot water from the tap from time to time to keep the water level at the required height.
Cool the peas
Cool peas immediately in ice water. Drain the peas thoroughly. After vegetables are blanched, cool them quickly to prevent overcooking. Scoop them out with something, or drain through a colander or large strainer, but keep the water for another batch.
Plunge the peas into a large quantity of ice-cold water (I keep adding more ice to it). A good rule of thumb: Cool for the same amount of time as the blanch step. For instance, if you blanch sweet peas for 90 seconds, then cool in ice water for at least 90 seconds.
Drain thoroughly.
Bag the peas
I love my FoodSaver with its vacuum sealing; these things really work. You can get a very good one at Amazon for a good price; It'll be delivered in just one or two days, and will pay for itself in nutrients retained.
It is advisable to freeze the filled bags, perhaps closing them off with a rubber band or clothes pin, for a few hours or overnight, to get the peas good and hard. Proceed to "vacuum and seal" later in the day, or the next morning.
If you don't own a vacuum food sealer to package foods, to prevent drying and freezer burn place food in a Ziploc bag, zip the top shut but leave enough space to insert the tip of a soda straw. When straw is in place, remove air by sucking the it out. To remove the straw, press the straw closed, where inserted, and finish pressing the bag closed as you remove the straw.
Pop them into the freezer. Freezing keeps greens safe to eat almost indefinitely, but the recommended maximum storage time of 12 months is best for taste and quality. The quality of the frozen greens is maintained best in a very cold freezer (deep freezer), and one that keeps them frozen completely with no thaw cycles.
|