Cheever on Base Prep and Brushing
Hello everyone, I wanted to do a myth busting eblast series. But I need to consult with the man before I attempt to blow everyones` mind. So instead for this early season eblast I want to talk about some base preparation and brushing.  I should say, what I do for base prep and brushing...
 
My early season riding isn't much different than most skiers and snowboarders. I'm on a glacier with varying conditions and trying to mimic racing as much as possible.
 
This time of the year usually calls for getting on a fast enough base that you can come close as possible to race speeds, but not slow down an actual race base. If you have the luxury of running a practice base... Awesome. But many people don't, so you'll be on your racers...or techs will be tuning racers.
 
It's not quite panic time yet to worry about a structure you should have done a few weeks ago. With enough prep, your base will be brought  to speed quickly. So it's okay to carefully get on that racer. What I like to do with my race bases is make sure the wax is durable.
Duh... Put cold wax on the edges... But there is more to it.
 
Wax bonds to your base. Wax also bonds to other wax.  My preseason routine is more than scraping off yellow then. Throwing on blue for durability.
 
I love toko red and the HF red.  But let's just stick with NF for now. Red can run in all conditions this time of the year. But more importantly it's on my base as a bonder for any other temperature wax I'll use for training.  Before my snowboard gear is off I brush then iron on red.  For my trainer board, I am comfortable just running with the red. But when I want to pull out a race deck, my routine starts the same with the red after I get off the hill, but I check my weather forecast and figure out what wax I want to bond with that red.
 
Say Pitztal is calling for colder weather and I am going to be in a blue/red range for tomorrow. I have my red on and methodically remove it.
 
Scrape. I scrape all the wax off. Scrape excess wax off my scrapers. ScotchBrite my scrapers clean so there is no gummy residue.
 
Brush step 1. Steely Dan. Toko's oval steel brushes do the trick quite well for pulling the excess wax your scraper didn't get and start pulling the residue from the structure of your base.
 
Brush step 2. Roto Horse hair. If you are subscribed to a toko eblast, I hope you have access to a roto brush. If not, I suggest investing. I use NO water for any roto brushing. The horse hair pulls most of the wax out of the base that you don't need and leaves what you do need behind.
 
Brush step 3. Roto bronze. Now my roto bronze is used and is quite soft. It isn't as aggressive as my horse hair, plus it's used at a slower drill speed. No water here or for any roto brushing because water acts as a lubricant for brushing. If you want to pull excess wax out, the most efficient way to do it is without water.
 
Brush step 4. The grey toko board roto. This brush will remove just about any remnants that will slow me down and will leave what I need bonding to the board
 
Brush step 5. Toko's black nylon roto. You want to polish that base and make it shine.
 
Brush step 6. If you have a paint brush, new of course, kicking around. Clean the tip and tail of your stick as they probably collected excess from brushing.
 
Step 7. Fiberlene. This final step microstructures your wax and cleans up excess junk left on the surface of your base.
 
Now that you know how I brush... Maybe after you put your next layer on try my method... Now I put on my red/blue combo for the next day. Repeat everything over once the wax is ready to be scraped. Roto brushing expedites the process and is more efficient than brushing by hand.
 
Go fast in training and faster racing,
Cheever
US Ski and Snowboard Tuning Legend Willi Wiltz on Prepping New Skis and Snowboards
US Ski and Snowboard Serviceman Legend Willi Wiltz on Prepping New Skis and Snowboards

US Ski and Snowboard Serviceman Legend Willi Wiltz on What Base and Edge Bevels to Use

First Look - Toko T18 Digital Wax Iron
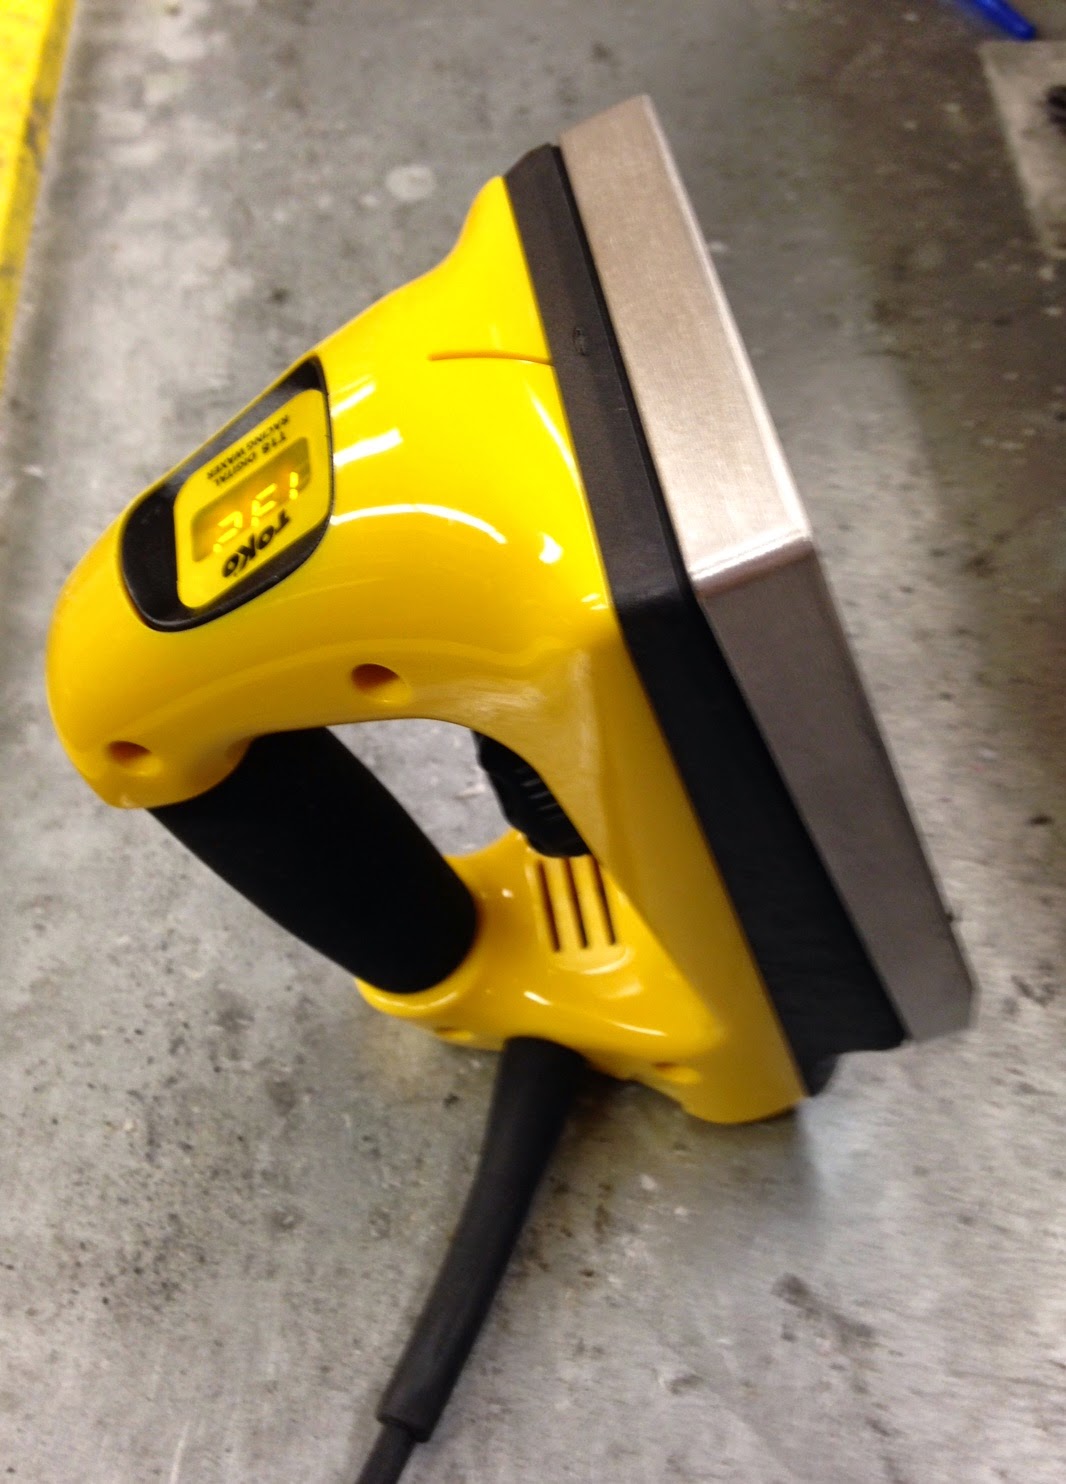
The power cord exits from the side instead of the back.

Toko has a new digital T-18 wax iron that they're rolling out, with commercial availability scheduled for mid-2015.

I got my hands on one a bit early, and have been using it here in the shop at Ultratune, for evaluation, and thought I'd share some information and my impressions.

The new T-18 is a step up in performance and price from the Toko T-14 digital iron that has been very popular the past few years.      The new T-18 is clearly a different design and fabrication entirely.      In fact, it shares a lot of the design with the translucent blue Star digital iron, but is updated. 

The T-18 has a pretty stout aluminum base plate, smooth, with no grooves.    It's beveled along the rear edge for ramping up on wax (or powders) without "plowing", but the beveling is on the back edge only -- no bevels on the sides or front edge.

The T-18 is an 800W iron.   With the big base plate and a very good thermostat, I find it to be very well regulated and accurate, and in fact I feel that this is the biggest improvement in performance over the T-14.

In addition, the power cord exits from the side instead of the back.    If your wax bench is set up so that the ski tip is on the right side, and you drive the iron right-to-left (using the beveled edge), then  the cord hangs out the front, nicely out of the way.    I really like this little feature.   Not a huge deal, but if you're using an iron a lot, then little details like this make a difference. 

The smooth face of the T-18.
Another feature that I like is that the T-18 remembers the temperature setting you're using.  

T-18 has a thick base plate.  Beveled back edge.
With the less expensive T-14 iron, every time you power-up the iron you need to adjust the temp setting.   This can be good or bad.   If you were cooking some high temperature top-coats into the skis (at, say, 160 C) and then shut down the iron, and then re-start it tomorrow to do a simple cleaning wax, then the T-14 will re-boot at the regular 130C setting, and you won't smoke your yellow hydrocarbon wax.     On the other hand, if you're commonly running the iron at 120C, then it gets a bit annoying to have to turn down the iron every single time you power it up.
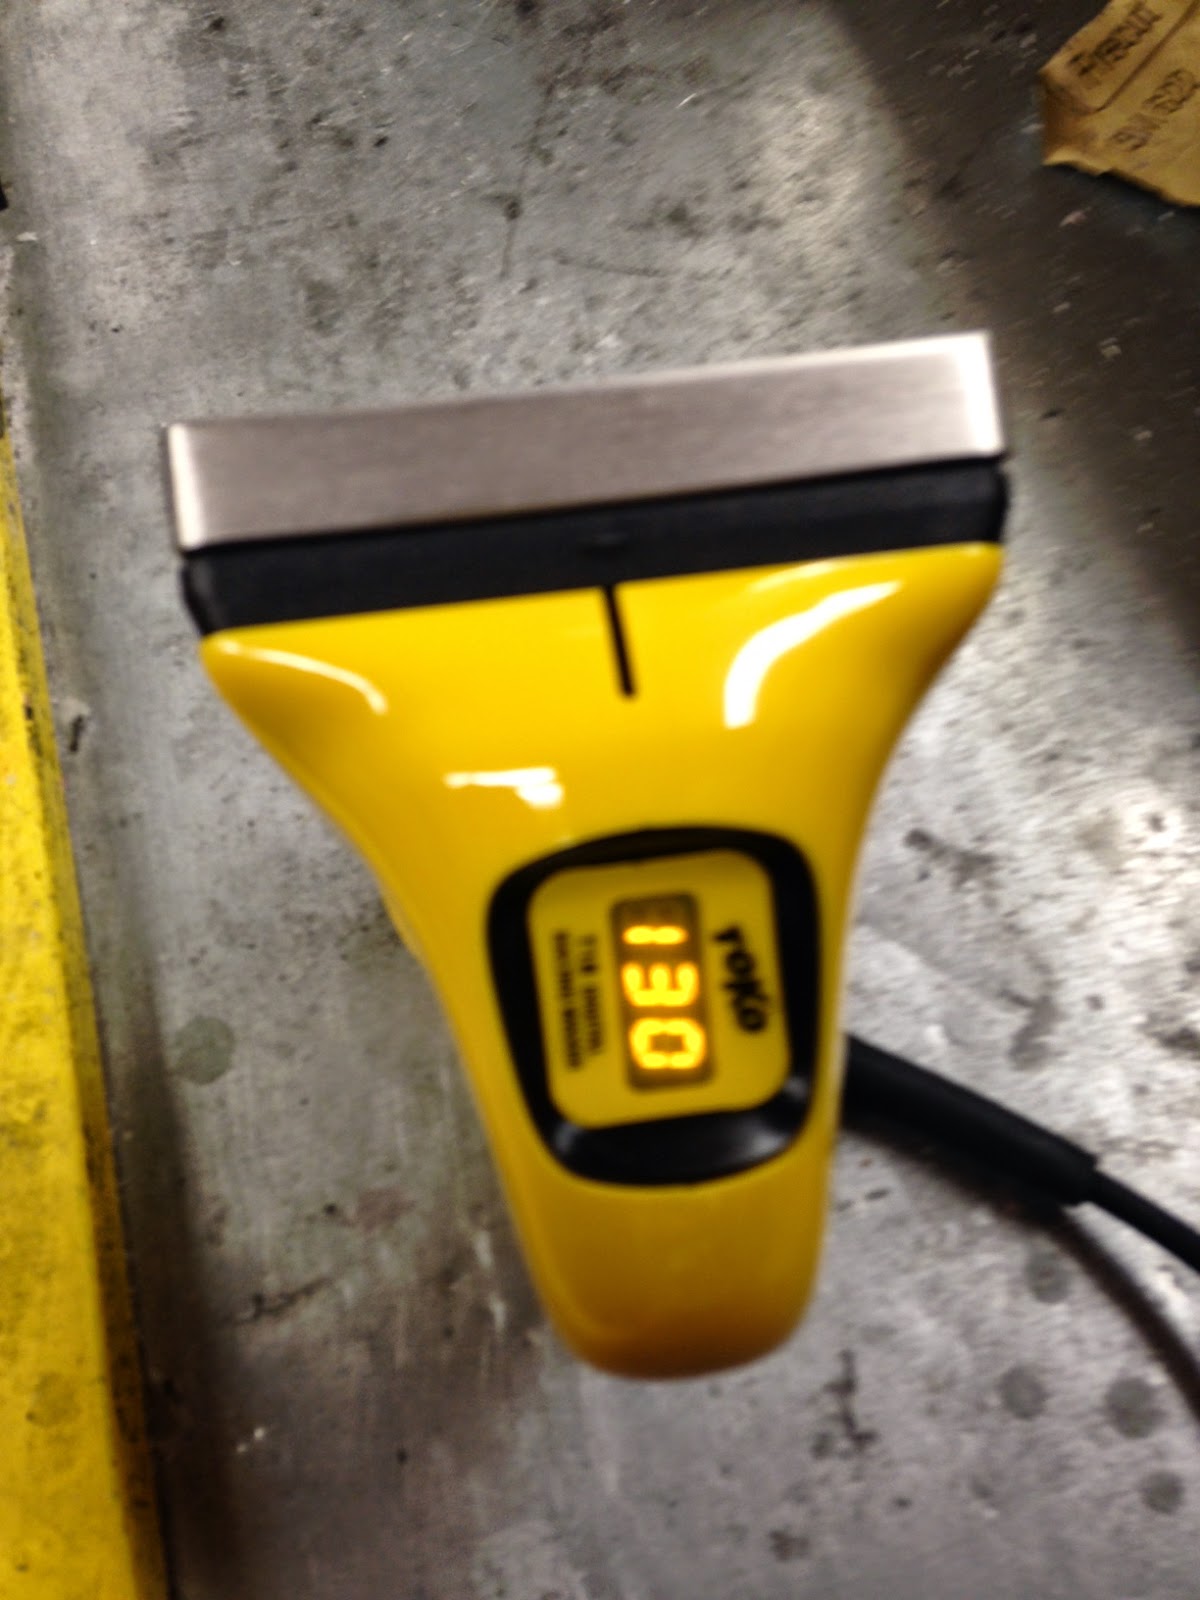
Easy to read digital display.
With the T-18, the iron remembers the thermostat setting you were using when it was turned off, and re-starts at the same temperature.     For me, that's a very minor little detail, but here in the shop where I'm laying down a base layer of soft thermo-box wax on lots and lots of skis, it's handy that the T-18 remembers my basic setting.

What do I not like?    I think the front and side edges are abrupt, and could have a little bit of a bevel to make it easier to use the iron in a variety of orientations.   As it is, straight from the box, the T-18 really needs to be driven down the ski in one orientation only.      For myself, I will likely bevel the front and side edges myself with a bit of careful hand-tool work.    This is really minor, and I definitely plan to continue using the T-18 as my primary iron here at Ultratune at my wax bench.        

The T-18 is not an inexpensive iron.  It will sell for roughly two-and-a-half times as much money as the T-14 iron (yes, somewhere over $300 but exact pricing is TBD).    Is it a better iron than the T-14?  Yes it is.    Will it inherently make your skis faster than another iron?   No it won't. 

For me, the Toko T-18 digital wax iron is a very nice professional-level tool that I'll be using in the shop here at Ultratune, and I'll have a few on hand in the shop for sale, too.     But I expect that the T-14 will still hit the sweet spot on price and performance for most skiers. 

This was an unsolicited 3rd party review from Nordic Ultratune in Winthrop, Washington
To read it on their website, click here

Find us on Facebook

Follow us on Twitter