|
Using The Reed Resurfacer
 | | Glass Reed Resurfacer |
Making every reed in the box play can be easy with a reed resurfacer. First choose the resurfacer that is right for you. There are two types to choose from, depending upon your preference.
The Vandoren glass reed resurfacer (pictured left) is made of plate glass with an etched surface on one side to make it mildly abrasive. It is a permanent resurfacer in that it does not need to be replaced. Simply wash it in mild soft occasionally and keep using it. It also comes with a glass etched wand that can be used to sand the vamp of the reed. Click the image link for more information.
 | | Plexiglass Reed Resurfacer |
The Vandoren plexiglass resurfacer (pictured right) has two different abrasiveness sand paper that is glued to the plexiglass. Starting with the heavier and working down to the finer grit side. Once the sand paper no longer removes enough cane from the reed, this resurfacer will need to be replaced. Click the image link for more information.
Using The Resurfacer:
First check that the back of the reed is flat. Wet the reed by dipping it in a glass of water and lightly placing the reed on a flat surface, such as a Muncy Reed Plaque. Look for air space where the reed is not touching the plaque. This indicates the reed back is warped.
Dry the water off the reed and place it on the reed resurfacer with the vamp extending off the sanding area. Place three fingers on the bark of the reed, applying even pressure and sanding in a circular motion. Be certain not to let the vamp end of the reed to enter the sanding area. Check the reed for flatness again and continue this process until the reed back is flat.
|
|
Reed Resurfacer Video
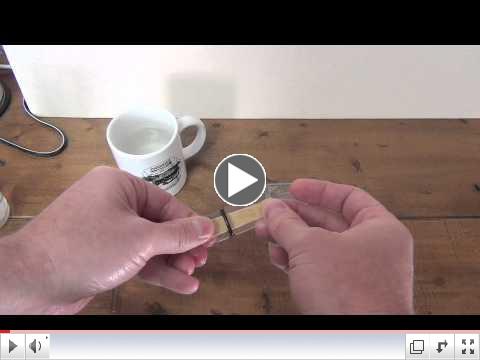 | | Reed Resurfacer |
See for yourself just how to use a reed resurfacer. In this video demonstration. You will see the Vandoren glass reed resurfacer demonstrated and the use of the reed plaque to see if the back is flat. Check out our Muncy Reed Plaque video to see the primary use of this reed plaque.
|


