Hey there!
It's pouring rain here in Honor... what's it like there? It's a good day to write a newsletter while sipping tea and munching on a Honey Crisp apple, fresh from the branch. :)
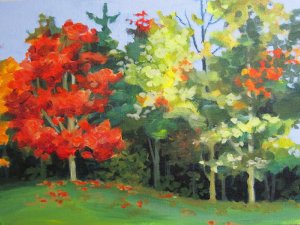 Here's a new landscape sample for my acrylic classes at Michael's in Traverse City, MI. It was inspired by a photo that I took last fall at the Loon Lake boat launch, which is just down the street from us. Here's a new landscape sample for my acrylic classes at Michael's in Traverse City, MI. It was inspired by a photo that I took last fall at the Loon Lake boat launch, which is just down the street from us.
The acrylic classes are sponsored by Grumbacher, and they've put together a nifty beginning paint set that includes 4 large tubes of paint 2 brushes, a palette knife, and 2 canvas boards. All for $49.99...And you know Michael's... Cut out one of their 40% off coupons for an even tastier deal! :)
|
Hot Off the Easel!
| |

Everlasting Bouquet
20 x 15
acrylic collage
This is one of the paintings at my show at Flint St. Gallery in Little Monsters toy store in Lake Orion, MI.
The show runs from August 30 through October 2. The reception was last Friday evening... and thanks so much to all of you who came! I had such a good time talking with everyone, that I completely forgot to take ANY photos... Good grief.
I'll get a couple of shots of the show when I go to pick up the unsold paintings... But it would have been nice to have pictures of the reception.
|
Idea Spark-lers
| |
Are you needing some painting ideas to get you going? Well, you've come to the right place!
Gouache Ink Resist....First steps!
Gather around boys and girls....here is the Gouache (pronounced gwash) Ink Resist Technique "how I do it" workshop...
Stuff you'll need....
- Watercolor paper....hot press or cold press or rough....(they all react a bit differently to this technique)
- Watercolors......(or watercolours work too)
- White gouache. If you want to try the other colors feel free, but white is really all you need to have.
- Waterproof India ink...
Size of paper...
I think it's best to start small...even as small as
5 x 7 and work up to larger sizes...
I also think it's good to do a few at a time rather than having to watch paint dry with one precious attempt.
The technique is a bit unpredictable...I'm pleased with about 75% of my attempts. (It's getting more predictable for me, the more experience I get)
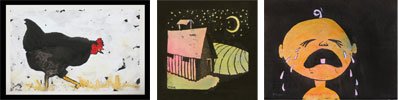
Here are some examples of the paintings I've done with this technique....
Step 1....
Think of an image that will look good with hard edges and clearly defined shapes or outlines...You basically
have 2 values to work with....black and light.
suggestions...
graphic sorts of images work well...images with clear 2 value pattern....
Black background with a light subject or light background Black subject...
Step 2....
Lightly pencil in the placement of the shapes on the paper. Do it accurately, not sketch, we want a line drawing.
Either wash over the whole paper with random watercolor....or paint each shape a different color...depending on
your design....
let this dry....completely.
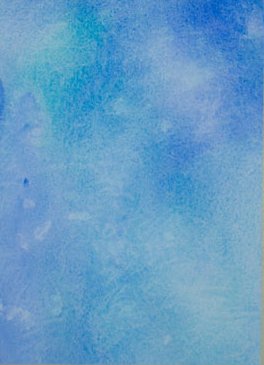
Here I've used french ultramarine and cobalt turquoise to do an overall coloring. This will tint the paper and the color will show after the gouache wash off. (It's going to be the sky behind some blossoming tree branches.
Step 3....
Cover the shapes that you want to be the light value with white gouache...skipping small spots within the shape is ok... I think the random misses make the result more interesting.
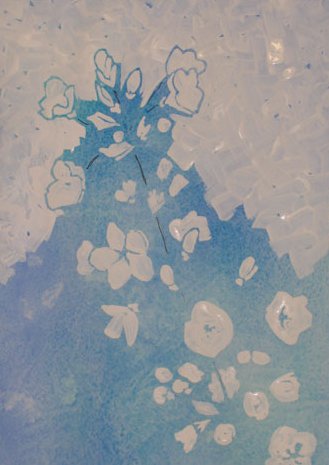
I used a sharpie pen to keep me on track with the main branch on this one (see the black lines)...It is a portion that I KNEW would be black and covered with the india ink. I rarely do this...but I was having trouble focusing that day. :)
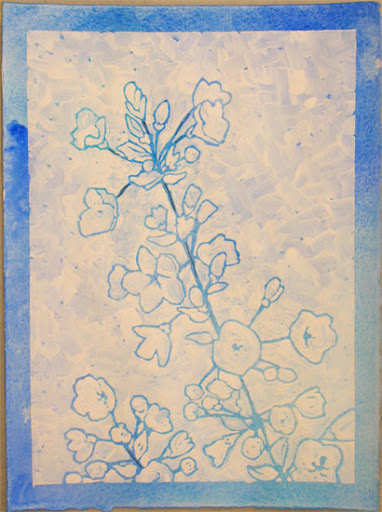
Here the gouache step is completed.
Here's an example where I've Painted with orange and 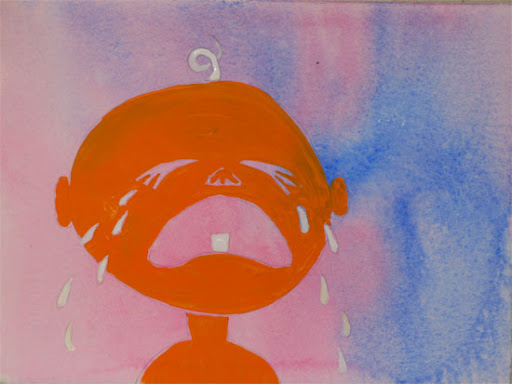 white gouache over the underpainted paper. white gouache over the underpainted paper.
Let it dry....completely...completely .....completely.
(I have successfully used a hair dryer here)
You'll have to stay tuned to next week's newsletter to see how to finish up. That way I'm sure this step will be dry before you move on. :)
(I know... that's sort of mean. LOL)
|


